Monday, June 20, 2011

Side table remake

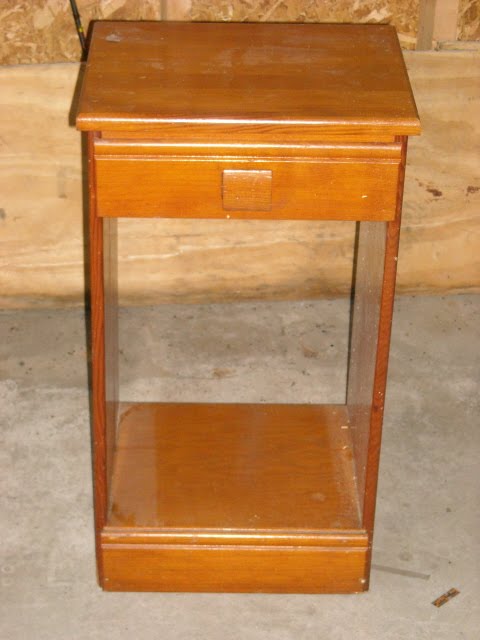
This is a side table I got at the auction. Nobody was bidding on it so I took it for a buck. I didn't know what I wanted to do with it so I let Cordelia help me. She picked out the color. I wasn't too sure about her color choice, but I let her pick it so I had to go with it.


I got the basket at Hobby Lobby on clearance for $5.00. It looks so cute with Cordelia's color choice. Now I'm happy she picked that color.


I also let Cordelia pick out the drawer knob. Like any good repurposer I have an assortment in my crafty stash waiting to be used someday. I got this knob at Michael's last winter in their dollar section! So for about $10 Cordelia has a little table for her room once we get the boys out of it.

Tuesday, June 14, 2011

Propeller

This was one of my favorite buys from the auction this past weekend. I bought it on the spur of the moment even though I wasn't sure what I was going to do with it. I just knew I needed to have it. I spent $7.50 on it. Dad laughed because mom just bought one the other day at a rummage sale. I had no idea. Great minds think alike, right? It took me about 5 minutes to come up with this idea. It's going on Rion's desk in his new industrial themed room. Propeller pencil holder:


P.S. Rion loves it!

Monday, June 13, 2011

Activity center centerpiece

This is a project that has been on my mental checklist for years. I saw it some where years ago, but I'm not sure where. I figured this would be an easy project to accomplish because who uses lazy susans anymore anyway? So finally after years of searching I found a lazy susan at the good old Lincoln rummage sales for a whole buck. A coat of primer and two coats of chalkboard paint and the kids have a cool little centerpiece for their activity table (which I now need to find since they don't officially have one). And I'm so happy about the tin with crayons. Mom has one and I've been jealous of it forever. Got it at the auction this weekend for $2.50 with a box full of other fun junk. And the paper around the little candle holder with the chalk in it is from an old Golden Dictionary (that I got at one of my favorite sales- the library's used book sale) that I just copied and taped around it.

Monday, May 30, 2011

Game night

Mom and I were out junkin' and thriftin' over the weekend. I found this great exercise Twist Board at a thrift store for $3. It has a swivel on the bottom so I had planned on using it as a lazy susan. I just love the graphics on it so I had to get it. I had a few ideas for my lazy susan, but I started having a lot of fun with the games theme so I continued with that. I'm going to do a couple more themes when I have time, but for now it's games.


I printed the Monopoly rules on some vellum and put that around the large candle. In the dish is extra Sorry playing pieces I had. Sometimes I get after myself for having so much stuff, but when a project comes together like this, I'm so happy I've collected all of these things.


The spring has the Clue case file and the candlestick attached to it. I put pencils inside the test tube inside the spring. I just keep finding more and more uses for those springs.


Monopoly coasters


Wine charms made out of Poker chips. I had gotten these poker chips probably 2 years ago for 50 cents. I knew I would eventually find a use for them.


The only new item in this project was the Twist Board. Everything else was in my craft stash. Hooray for being a pack rat!

Wednesday, March 30, 2011

Homemade stamp

Inspiration found here: http://dalemackey.wordpress.com/2011/03/16/make-a-kid-stamp/ Rion can be such a good artist when he wants to be. I always liked his drawing of a penguin. Now it's a stamp. I think it might go on Christmas cards. Now Torii wants to draw something so I can make it into a stamp too.

Wednesday, March 23, 2011

Pillow case dresses

A co-worker recently had a craft book and this was one of the ideas in it. It's super easy and so cute. This is really close to the one I made: http://www.ehow.com/how_4422889_make-pillowcase-dress.html. Or just google "pillowcase dresses" and you'll get a bunch of results. I found both of these pillowcases at thrift stores for about 50 cents each. I had to buy bias tape and elastic, but that was the only other expenses. Cute, cheap and recycled! For the yellow one I embrodered a heart at the bottom just so it wouldn't be so plain.

Monday, March 7, 2011

$3.00 window hanging.


I love to thrift store shop now. I haven't really looked at our thrift store's in town until recently. I have found some great 'junk' finds. I just picked up some little ugly wood picture frames and I knew right away what I wanted to do with them. I've been having fun with little quote stuff as you can probably see with my last post. :P They are just so cute to play with. Laurie, this one is for you if you want it, I can send it over. Let me know if you would like it or not. It would look cute hanging in a window or just on a wall. it looks super cute also. I also have one for you stacy with a football logo on it. :D

Monday, February 28, 2011

Mini legal pad holder

This is another idea I got from the book about using recycled items. They made a regular sized legal pad holder, but when I spotted mini legal pads at the dollar store I knew I wanted to make these. They also used brown paper grocery bags for the outside, but the dollar store also had some really cool rolled paper with stars on it. I used the back side for the outside, but used the star side for the inside. The rest of the stuff was all stuff I had on hand so each pad holder costs less than a dollar! I will be making some more of these for sure. I want to make some full sized ones too, but this one is the perfect size for my purse.


More ideas.


Another spagetti jar idea. I found some clear stickers that came in sheets at a local craft store and each sheet had milestones for different year's on them. Of course I went through them and found the milestone's for space related year's so I used them on a jar to make a 'trivia jar.' I filled it with sand so the lettering would stickout more and then added some flowers to dress it up a bit. I think I want to add a little more sand to it though.
Another idea I got when making some juice for Heidi. I used to throw away the frozen juice containers that have the round metal lids on each end of them (walmart brand are great. easy to take apart.) I just take the metal rings off from the cardboard lining and wash them off. Then Glue a favorite picture in the inside to make a framed look. Then glue a magnet on the back and voila, a super cute picture magnet for the fridge. It would also make a great ornament! So you got yummy juice and two picture art for around $2.00. :D

Saturday, February 26, 2011

Home for the Holidays


Got my camera fixed (finally)! This now means I am now able to upload my favorite holiday photos from around home this year! So much creativity!


Monday, February 21, 2011

Organizing

Here's my other project. Cigar boxes turned into storage. I have put a lot of my scrap booking stuff inside the boxes. I would love a big shelf full of these boxes with all of my craft supplies inside. I found the three boxes on the right just today.


My box of fun cut outs and fun paper stuff. Now I want to go downstairs and create something.

Sunday, February 20, 2011

Coffee coaster

Perhaps this blog could become our crafty blog? I found this really great magazine at JoAnn's the other day about crafting with recycled items. It cost $15, but it has so many great ideas and got my creativity going again so I had to pick it up. This was one of the ideas in the book. I always pick up things that visually appeal to me at thrift stores even if I don't know exactly what I'm going to do with them. So I have a lot of stuff downstairs just waiting for a project. Anyway, I happen to have a coffee sack which I cut a square out of for the coaster. Then I just sewed on all the other items. It was fun! I started another coaster that was going to be really cool with part of a coffee ad from an old Life magazine, but the paper ended up tearing apart when I sewed it so I have to come up with something else. I have another recycled project done, but I have to take some pictures first. Then I'll post it.

Friday, February 18, 2011

100% Recycled.

I recently made a soap container. I used a glass spagetti jar and a soap pump from Heidi's bath soap bottle. Then I bought a big container of soap to fill it up. I still want to spray paint the top cover to make it a little prettier.

Wednesday, January 26, 2011

Pom Pom Flowers stay fresh! Thanks Mom!


Great idea mom found in Country living. Make pom pom flowers for easy decoration and you have cute flowers that are cute and always fresh. :) When mom gave me the idea last week, I went to Real Deals and found these super cute vases for $2/each. Awesome. I wasn't going to decorate much for valentine's day, but the flowers do look cute with some of the old cards mom also gave us. Thanks mom!
p.s- if anyone would like some pom poms made, let know. I can make a few up so easy and send some or if you would like to try, they are so easy and they usually cost from $6-$8/set of two. Walmart should carry them.

Sunday, October 24, 2010

Crisscross Apple Crowns.

1 1/3 cups chopped peeled tart apples.
1/3 cup chopped walnuts.
1/3 cup raisins
1/2 cup sugar, divided
2Tbsp. all-purpose flour
2tsp. ground cinnamon, divided
Dash of salt
1pkg. (17.3 oz) large refrigerated flay bisquits
2tsp butter, melted

In a large microwave safe bowl, combine the apples, walnuts, raisins, 3 Tbsp. sugar, flour, 3/4 tsp. cinnamon & salt. Microwave on 2-3 minutes or until almost tender.
Flatten each bisquite into a 5 inch circle. Combine remaining cinnamon and sugar; sprinkle a rounded teaspoonful of sugar mixture over each. Top each with 1/4 cup apple mixture. Bring up the edges to enclose mixture; pinch edges to seal.

Place seam side down in ungreased muffin cups. Brush tops with butter; sprinkle with remaining sugar mixture. With a sharp knife, cut an "X" in the top of each.

Bake at 350 for 18-22 minutes or until golden brown. Cool for 5 minutes before removing from pan to wire rack.

ENJOY!!!!!


I tried these today and they are so good and so easy! These would be awesome for a busy autumn morning to take to go and with a nice cup of coffee. I only have two left since a few hours ago. I guess brian really likes them too. Of course I used mom and dad's apples and that made them even better. ENJOY them, I know I will be making many more of these.
Monday, August 2, 2010

Just keeping this blog going. Here's some pics of our weekend. Enjoy!

Found out that Heidi likes to play in the Lowes car so we can shop. Yay!
I think Heidi may be an early swimmer. She sure loves the water!

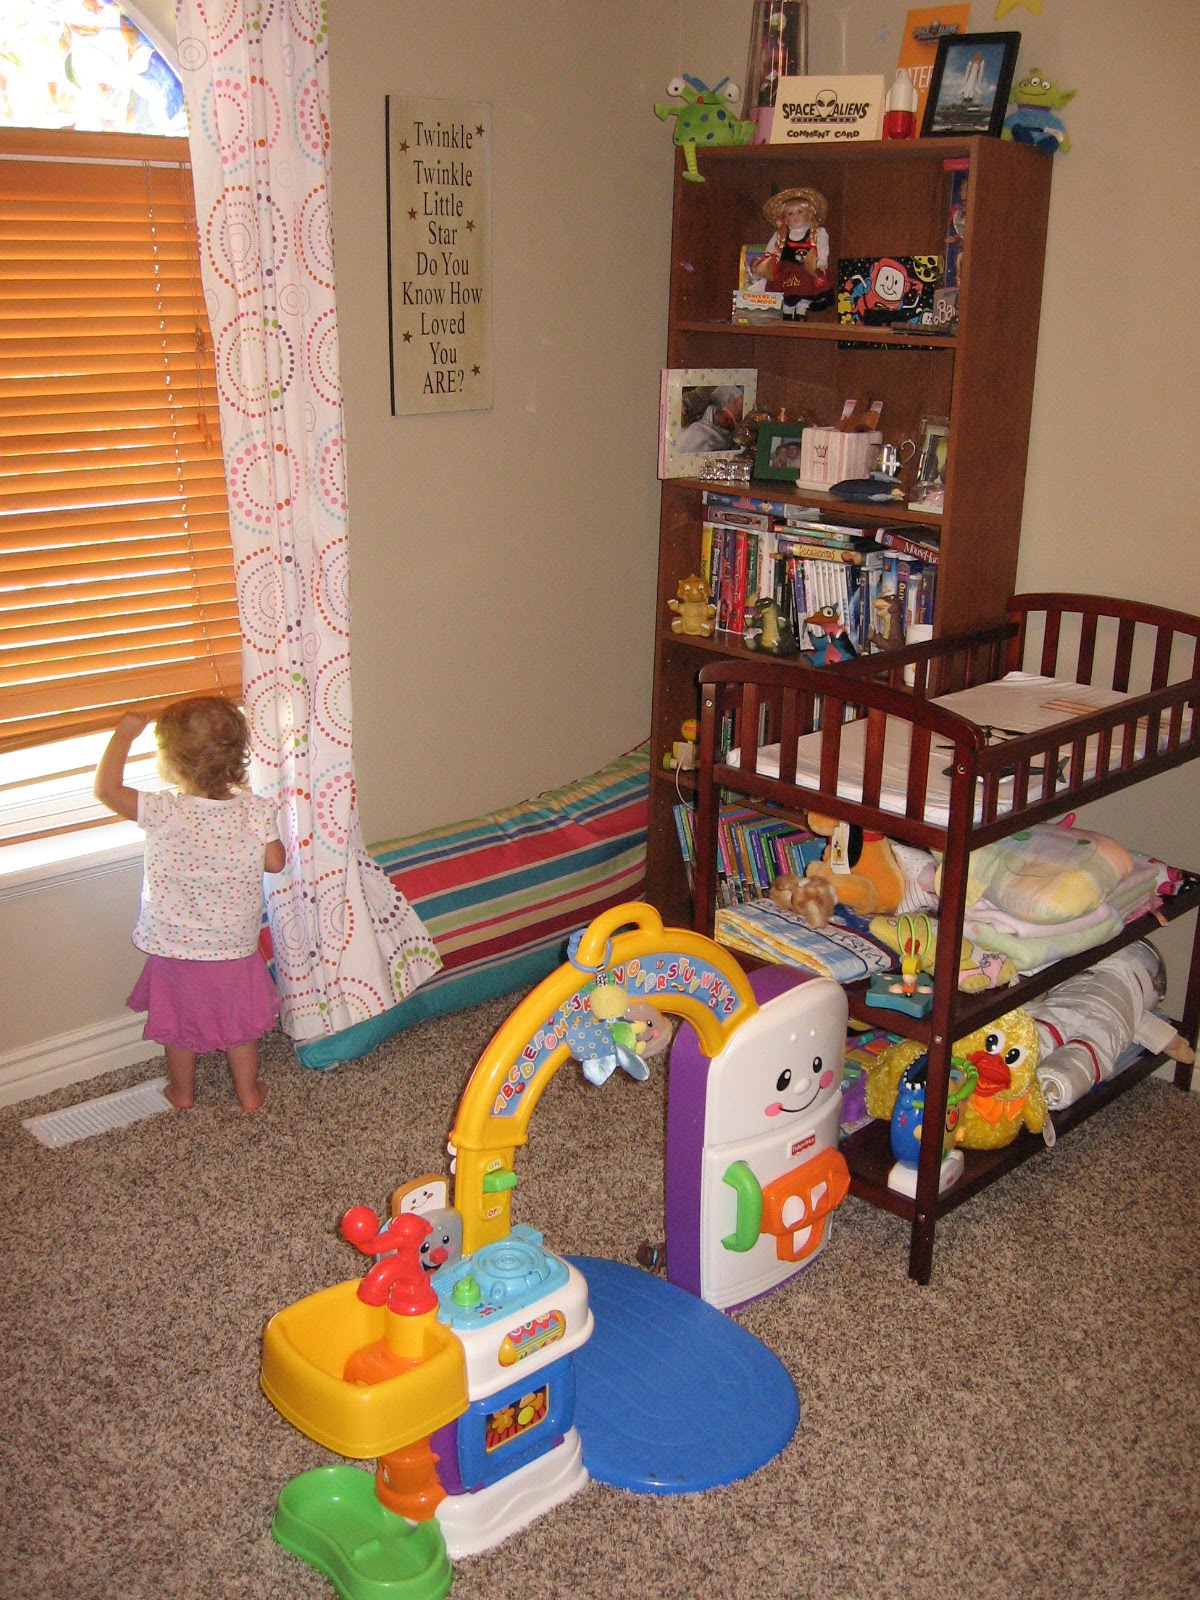
Just a look at Heidi's room (when it's clean).

Room is clean for about 10 minutes.
Found some pretty 'stained glass' look material at Home Depot. This is while working on it, so you may see some mistakes. But it looks very pretty from outside at night when Heidi's room light is on. LOVE it.

Daddy's helper. :)

Loving some more bathtime.

At the park enjoying the nice day.

Daddy helping Heidi get started on the slide.

Victoria streching out and enjoying the warm light coming in.

Heidi let mommy shop at Gymboree while she watched the cartoons on the store's t.v. I think every kid store should have this! So perfect. During the shopping time, the store was playing 'My friend Rabbit.' A cartoon heidi likes to sit and watch.